Maintaining Brand Consistency: The Process for Guaranteeing Color & Finish Accuracy Across Large Orders
To guarantee color and finish accuracy, you must implement a system based on objective standards. This starts with a “Golden Sample” master standard, combining physical references with digital CIE Lab* color data and contractually defined Delta E tolerances. This standard must then be enforced through rigorous control of raw materials, precision fabrication processes like CNC machining, multi-stage tumbling, and data-driven partner vetting using tools like spectrophotometry.
The Strategic Imperative: Why Absolute Consistency Defines Brand Value
Protecting Brand Equity and Financial Performance
The direct link between sensory consistency, customer trust, and perceived brand value is undeniable. Color and finish consistency is a fundamental pillar of brand integrity. When customers purchase premium eyewear, they expect an identical sensory experience with every frame. This consistency directly influences their perception of quality and craftsmanship, which becomes your key differentiator in a crowded market.
The psychological impact extends beyond a single purchase. Research shows that consistent color presentation reinforces brand recognition. When customers see variations, they instinctively question your attention to detail and production standards. This erodes the trust that justifies a premium price, directly impacting long-term brand loyalty.
Best Practice: Establish color consistency as a core brand value by documenting specific color tolerances in your brand guidelines. This creates accountability throughout the supply chain and ensures everyone understands the non-negotiable standards for your products.
Quantifying the Financial Impact of Inconsistency
Color and finish inconsistencies translate directly into measurable financial losses. Industry data shows that color-related issues can account for 15-20% of total product returns in the eyewear sector. Each returned unit represents not only lost revenue but also additional handling costs and the opportunity cost of dead stock. This directly erodes your profit margins and ties up capital in unsaleable products.
The true cost extends beyond returns. When retailers receive shipments with noticeable variations, they may reject entire batches, leading to production delays and potential contract penalties.
Key Metric: Leading manufacturers target color consistency rates of 98% or higher. This means less than 2% of production requires rework due to color-related issues, representing the minimum threshold for maintaining a premium brand position.
The Bottom Line: Every percentage point improvement in color consistency directly correlates with reduced operational costs. The investment in precision color control systems typically pays for itself within 6-12 months through reduced waste and improved customer satisfaction.
How Minor Deviations Erode Brand Perception
Even small variations in color can significantly impact brand perception, particularly in the luxury market. Premium eyewear customers possess sophisticated expectations and often compare products side-by-side. What might seem like an acceptable variance to a manufacturer appears as a quality compromise to a discerning customer. This creates brand confusion and dilutes the premium positioning that justifies higher price points.
Critical Warning: In the social media age, product inconsistencies are amplified. A single customer posting images of mismatched frames can reach thousands of potential buyers, creating reputation damage that far exceeds the cost of the original quality issue.
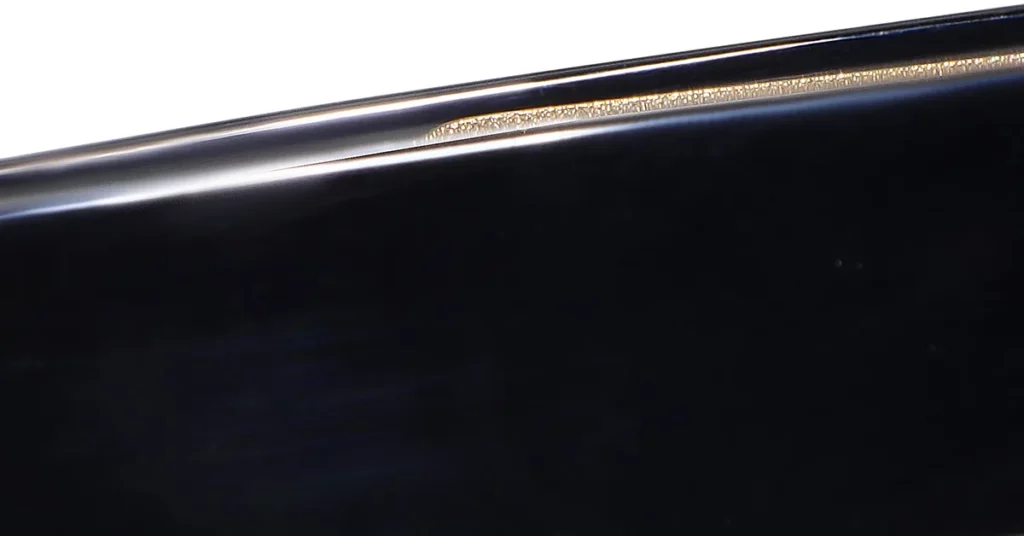
Establishing the Master Standard: Your Contractual “Golden Sample”
Translating Vision into an Actionable Technical Specification
The foundation of consistent quality begins with a comprehensive master standard. This serves as the definitive reference for all production. You must translate subjective design intent into objective, measurable specifications that can be reproduced without fail. This requires collaboration between designers, quality control specialists, and production engineers.
Best Practice: Develop a comprehensive specification package that includes physical samples, digital color references (Pantone, CIE Lab*), surface texture guidelines, and tolerance specifications. This package must be detailed enough for any qualified manufacturer to reproduce the exact appearance without subjective interpretation.
The Dual-Standard Approach: Physical Samples and Digital Data
Modern color management requires both physical and digital standards. The CIE Lab color space* provides device-independent color specifications that can be measured and verified using spectrophotometry. This allows you to combine tactile master samples for visual assessment with standardized digital data for precise communication and instrumental measurement. This dual approach removes ambiguity, ensuring that both human inspection and machine measurement align with your contractual standard.
For Example: A premium acetate frame might have a master sample accompanied by CIE Lab* values of L*=45.2, a*=15.8, b*=22.3, along with specific Delta E tolerances for acceptable variation. This provides both a visual and a numerical target.
Defining Objective Deviation Tolerances (Delta E)
Definition: Delta E represents the perceptual difference between two colors in CIE Lab* color space. Values below 1.0 are generally imperceptible, 1.0-2.0 are noticeable under controlled conditions, and values above 2.0 are clearly visible.
Delta E measurement provides the quantitative framework for defining acceptable color variation. By establishing specific Delta E tolerances as contractual requirements, you create clear performance standards. This eliminates subjective debates over color acceptance, making quality control a data-driven process and protecting you from costly batch rejections. For premium eyewear, Delta E tolerances typically range from 0.5 to 2.0.
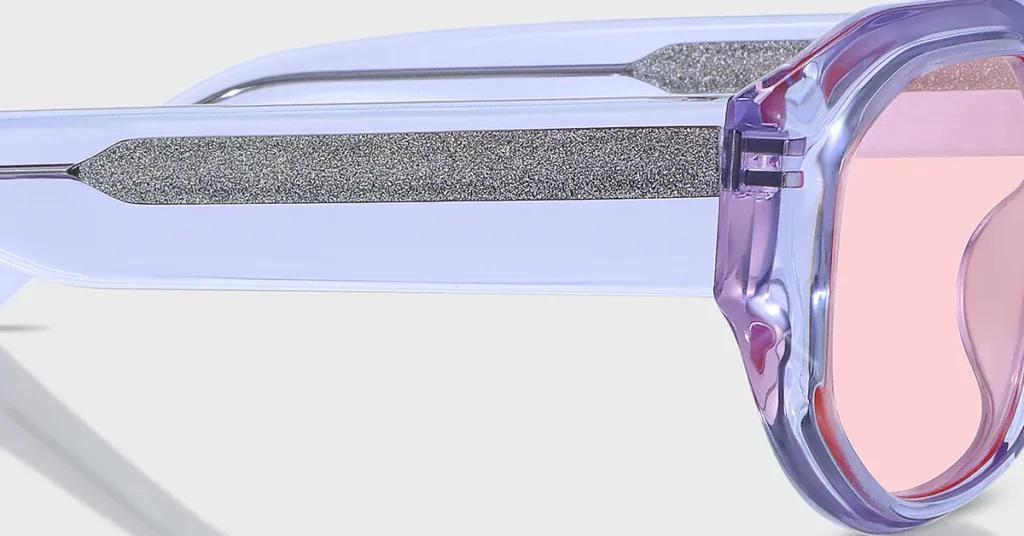
The Manufacturing Blueprint: Key Control Points
Foundational Control: Vetting and Managing Raw Acetate Supply
The foundation of consistency begins with strategic material selection. Different acetate sources exhibit distinct characteristics that directly impact the final product.
| Acetate Source | Color Depth | Surface Uniformity | Processing Stability | Cost |
| Italian (Mazzucchelli) | Deep, complex, lasting | Excellent | High | Premium |
| Japanese (Takiron) | Consistent, controlled | Superior | Very High | High |
| Chinese (Standard) | Variable | Good | Moderate | Economical |
Italian acetate offers superior color depth and complexity, making it ideal for luxury applications where a distinctive appearance justifies the premium. Japanese acetate provides exceptional consistency and precision, ideal for applications requiring tight tolerances. Chinese acetate offers cost advantages but requires more rigorous QC to manage batch-to-batch variation.
The Science of the Masterbatch
Masterbatch technology concentrates pigments into a carrier resin. This allows for precise color dosing and ensures homogeneous pigment distribution throughout the final product, eliminating the inconsistencies of adding raw pigment directly. This investment in formulation quality prevents color streaking and guarantees consistent color reproduction, reducing material waste.
Key Metric: High-quality masterbatch systems achieve pigment distribution uniformity of 98% or higher. This is essential for achieving consistent color in finished products.
Critical Batch Management Protocols
Effective batch management ensures consistent material properties. You must implement material traceability systems that track acetate sheets from raw material receipt through final production. This allows for rapid identification and isolation of any quality issues, which is critical when managing large orders that span multiple production batches.
Best Practice: Implement statistical process control (SPC) for incoming material inspection. Test representative samples from each acetate batch for color consistency, dimensional stability, and processing characteristics to identify potential issues before they impact production.
Strategic Material Assessment: Acetate vs. Alternatives
Your material selection impacts both color consistency and cost. You must evaluate each material’s advantages against your specific application and brand position.
| Material Type | Color Consistency | Finish Options | Cost | Design Flexibility |
| Acetate | Excellent | Unlimited | High | Very High |
| TR90 | Good | Limited | Moderate | Moderate |
| Titanium | Good | Moderate | Very High | High |
| Stainless Steel | Good | Moderate | Moderate | Moderate |
Acetate continues to offer the broadest range of color and finish options, with unlimited customization potential through various processing techniques.

Precision in Fabrication and Lamination
The Impact of CNC Machining Tolerances
CNC machining precision directly influences surface quality. Tight machining tolerances (typically ±0.05mm to ±0.13mm) ensure a uniform surface for subsequent finishing processes. This prevents surface variations that become visible in final products, reducing the rate of rejection for cosmetic defects.
Critical Warning: Worn cutting tools create microscopic surface irregularities that become visible after polishing. Tool replacement schedules must be strictly enforced to maintain surface quality standards.
Key Parameters for Lamination Integrity
Lamination requires precise control of temperature, pressure, and curing time. The optimal temperature range is typically 80-120°C. Excessive heat can cause pigment migration or color bleeding, while insufficient heat results in a weak bond that may fail. Proper control prevents delamination and color defects, which would otherwise lead to scrapped components and production delays.
Pro Tips: Use staged temperature profiles during lamination, starting lower for initial bonding and gradually increasing to achieve final cure. This approach minimizes color bleeding risk while ensuring complete adhesion.
Mitigating Risk in Complex Designs
Complex acetate designs with multiple layers require special attention to prevent color bleeding. Prevention strategies include temperature management, material selection, and process sequencing.
Best Practice: Implement barrier layers between incompatible colors, using clear acetate films or compatible intermediate materials. This approach maintains design integrity while preventing color contamination.

The Critical Path to a Flawless Surface
The Science of Scale: Multi-Stage Barrel Tumbling
Barrel tumbling is the most critical process for achieving a consistent surface finish across large runs. It involves multiple stages to progressively improve surface quality.
| Stage | Duration | Media Type | Paste Type | Purpose |
| Grinding | 12-15 hours | Coarse wood chips | Abrasive | Remove tool marks |
| Smoothing | 30 hours | Fine wood chips | Smoothing | Surface preparation |
| Polishing | 4-8 hours | Mixed media | Polishing | Develop gloss |
| Brightening | 4-6 hours | Fine media | Brightening | Final finish |
Key Metric: Tumbling effectiveness is measured by surface roughness (Ra). Premium finishes must achieve Ra values below 0.1 micrometers.
The Art of Perfection: Manual Hand-Polishing
Manual hand-polishing is the final quality control step for luxury finishes. This process allows skilled craftspeople to address imperfections that automated processes cannot.
For Example: Premium acetate frames typically undergo hand-polishing with a brown compound for scratch removal, followed by a yellow compound for the final polish. This two-stage process ensures both surface quality and consistent gloss levels.
Process Controls for Specialty Coatings
Specialty coatings like dip dyeing or spray painting are highly sensitive to temperature, humidity, and contamination.
Critical Warning: Contamination during coating processes can cause surface defects that are difficult or impossible to correct. You must demand that your partner maintains clean room standards for all coating operations.

The Partner Vetting Framework: Evaluating Quality Control Infrastructure
Verifying Color Accuracy with Objective Technology
You must demand data-driven color matching. Non-contact spectrophotometry provides the technological foundation for objective color measurement. These instruments measure color without physical contact, providing precise, repeatable measurements. This eliminates subjective judgment and ensures your color standard is met, reducing the risk of costly disputes over quality.
Best Practice: Require manufacturers to demonstrate spectrophotometric measurement capabilities with certified reference standards. This verification ensures their systems meet your accuracy requirements.
Mandating Standardized Lighting Conditions
Definition: D65 illumination represents International Standard Artificial Daylight with a color temperature of 6500K and a Color Rendering Index (CRI) of 98. This is the gold standard for visual inspection.
Standardized lighting is essential for consistent visual color evaluation. D65 light boxes provide calibrated illumination that simulates natural daylight, enabling accurate color assessment independent of ambient light. This ensures color assessments are consistent across different locations and operators, preventing incorrect rejections or approvals based on poor lighting.
Using CIE Lab* and Delta E as Objective KPIs
The CIE Lab* color space enables precise measurement and specification of color differences using Delta E calculations.
Key Metric: Premium manufacturers must achieve Delta E values below 1.0 for critical color applications. Tolerances of below 0.5 represent the highest level of color accuracy and ensure variations are imperceptible.

Testing for Real-World Durability and Longevity
Evaluating Coating Adhesion (ISO 2409)
The cross-hatch test (ISO 2409) is a standardized method for evaluating coating adhesion strength. The test creates a grid of cuts through the coating, and adhesive tape is used to assess adhesion quality on a scale from 0 (excellent) to 5 (poor). Mandating this test verifies that the finish will not peel or flake, preventing warranty claims and protecting brand reputation.
Pro Tips: Combine cross-hatch testing with salt spray exposure to evaluate long-term adhesion performance under accelerated weathering conditions.
Simulating Long-Term Wear
Accelerated aging tests simulate years of wear in a shortened period. UV degradation testing evaluates color stability under simulated sunlight exposure, which is critical for eyewear.
Best Practice: Require manufacturers to demonstrate UV stability testing using standardized protocols such as ASTM G154 or ISO 4892. These tests provide quantitative data on color stability and surface degradation.
Validating Surface Hardness and Scratch Resistance
Surface hardness and scratch resistance testing validate the durability of coatings. Abrasion testing simulates normal handling to ensure surface quality remains acceptable throughout the product lifecycle.
Critical Warning: Insufficient surface hardness leads to rapid degradation of appearance, particularly for high-gloss finishes. You must establish minimum hardness requirements based on the intended application.
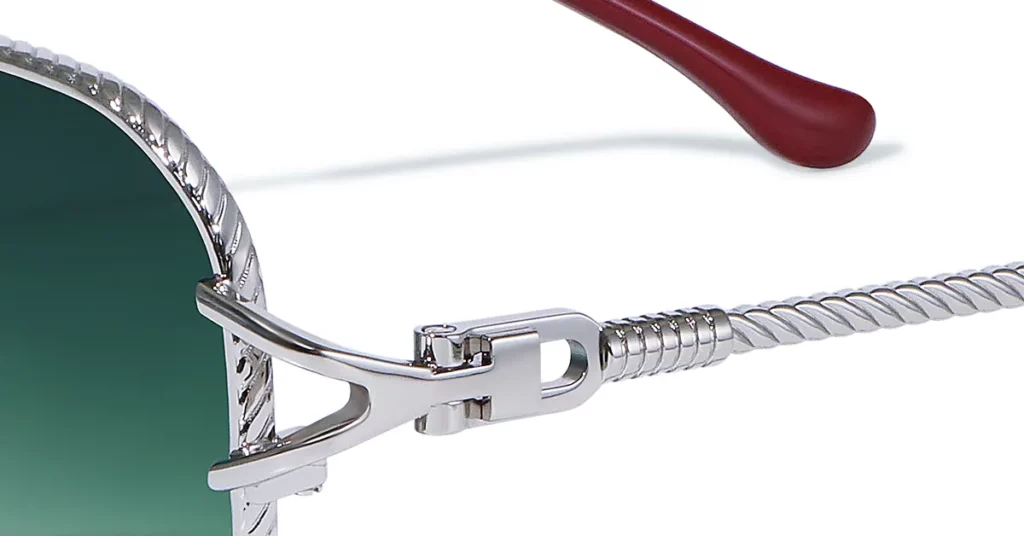
Auditing for Process Maturity and Traceability
The Importance of In-Process QC Gates
In-process quality control gates provide early detection of quality issues. Using SPC, key process variables are monitored in real-time, providing immediate feedback when processes drift. This proactive approach reduces total quality costs by 40-60% compared to a final inspection-only approach by preventing defective products from moving down the line.
Demanding Documentation: SOPs
Comprehensive standard operating procedures (SOPs) must document all processes and controls used to achieve consistent quality. These procedures must cover all aspects of color control, surface finishing, and defect handling.
Best Practice: Require manufacturers to provide complete SOP documentation as part of your qualification process. Review these procedures for completeness, technical accuracy, and alignment with your quality requirements.
The Non-Negotiable Requirement for Lot Traceability
A lot traceability system enables rapid identification and isolation of quality issues. It must track materials and products through the entire production process, from raw material receipt to final shipment.
Critical Warning: Inadequate traceability can turn a minor quality issue into a major crisis, especially when products have already reached customers. You must invest in robust traceability infrastructure as insurance.
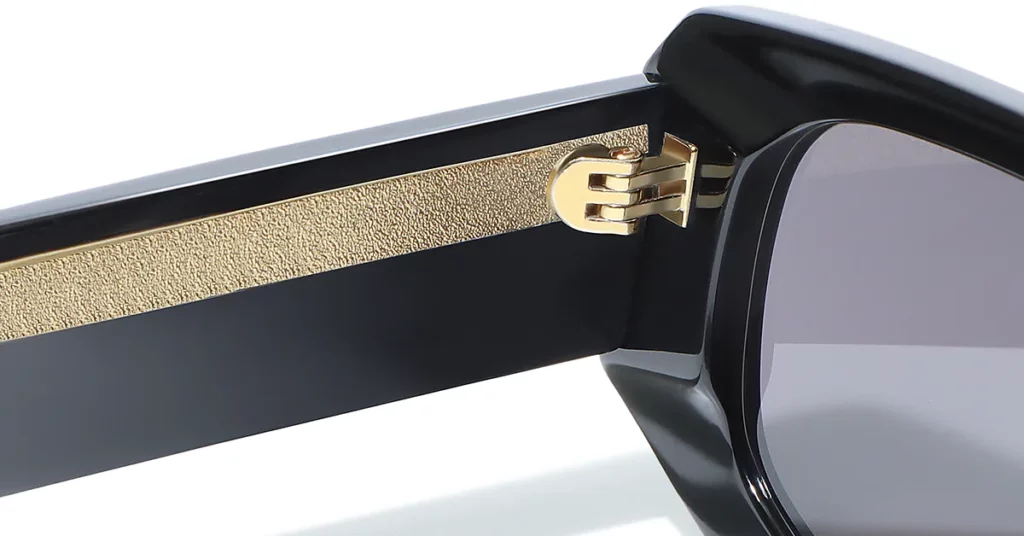
The Scalability Playbook: Ensuring Consistency
The Bridge to Mass Production: The Pilot Run
A pre-production pilot run is the final validation step before full-scale production. These runs test all production parameters under actual manufacturing conditions, identifying potential issues before they impact large quantities. This prevents catastrophic failures at scale, saving immense cost and time.
Best Practice: Produce pilot run quantities of at least 100 units to enable statistical validation of process capability and quality consistency.
Confirming Delta E Tolerance Capability
The pilot run is your opportunity to verify that a manufacturer can consistently achieve specified Delta E tolerances under production conditions. This requires measurement of representative samples throughout the run.
Key Metric: Process capability studies should demonstrate Cpk values of 1.33 or higher for color consistency. This indicates the process can reliably produce products within your specification limits.
Calibrating the Production Line for High-Volume
Statistical Process Control (SPC) provides real-time monitoring of critical manufacturing variables. This is essential for maintaining consistency across large production runs where small variations can accumulate into significant problems. By enabling immediate correction, SPC minimizes waste and ensures the ten-thousandth frame is identical to the first.
Proactive Machine Maintenance and Calibration
Proactive maintenance programs ensure production equipment operates within specification. Critical equipment like spectrophotometers requires frequent calibration to maintain accuracy.
Critical Warning: Deferred maintenance can cause a gradual degradation in quality that becomes apparent only after significant quantities of defective products have been produced.
Building a Resilient, High-Quality Partnership
The Communication Loop
Effective communication protocols ensure quality issues are identified and addressed promptly. This system must include automated alerts for critical quality parameters, regular quality reports, and clear escalation procedures.
Best Practice: Implement real-time quality dashboards that provide immediate visibility into key quality metrics. This transparency builds trust and enables proactive problem-solving.
Evaluating a Partner’s Risk Mitigation Plan
Manufacturers must have robust plans for managing raw material batch variations. These plans should include supplier diversification, buffer stock management, and rapid response procedures for material quality issues.
The Bottom Line: Material batch variations can impact entire production runs. Risk mitigation planning is essential for maintaining your delivery commitments and quality standards.
The Long-Term Value of a Knowledgeable Partner
Long-term partnerships with manufacturers who understand your brand’s standards provide a significant advantage. These partners develop institutional knowledge about your requirements, which becomes increasingly valuable as your product lines evolve.
Pro Tips: Invest in training and knowledge transfer programs with key manufacturing partners. This investment pays dividends through improved quality and reduced problem-solving time.

Conclusion
A rigorous, technology-driven quality control process is the only viable approach to safeguarding brand integrity in large-scale eyewear production. The investment in advanced measurement systems, process controls, and manufacturing partnerships delivers measurable returns through reduced waste, improved customer satisfaction, and enhanced brand reputation.
At Kssmi, we deploy these systems to deliver verifiable consistency for our B2B partners, combining decades of manufacturing expertise with cutting-edge quality control. Contact us today to schedule a consultation.
Frequently Asked Questions
1. What is a realistic Delta E tolerance for a premium acetate frame?
Premium eyewear brands should demand that manufacturers consistently achieve Delta E values below 1.0 for critical colors. For the highest quality, target values below 0.5.
2. How is a complex, multi-layered acetate pattern verified?
Verification requires a multi-faceted approach. This includes spectrophotometric measurement of individual color components, visual inspection under D65 lighting, and lamination integrity testing to check for color bleeding between layers.
3. What documentation should a brand request during a production run?
Demand comprehensive QC documentation. This includes in-process measurement data, SPC control charts, inspection reports from each control point, and full traceability records linking finished products to raw material batches.
4. How is a uniform matte finish ensured on every unit?
Matte finishes require specialized QC checks. These include surface roughness measurements (Ra values), gloss level verification, and visual inspection under controlled lighting to find any streaking or texture variations.
5. How do you account for color shift after final polishing?
The master sample must be created using the complete production process, including all polishing and finishing steps. This ensures the reference standard accounts for any color shifts that occur during manufacturing.