For your eyewear brand, rigorous quality control and recognized certifications are the bedrock of consumer trust and market leadership. Verifiable quality benchmarks are not just about compliance; they are about building a brand that stands on a foundation of documented excellence and protects your customers, your reputation, and your bottom line.
Custom prescription glasses from qualified manufacturers provide comprehensive quality assurance through verified compliance with ANSI Z87.1, ISO certification standards, and FDA regulations. This enables your brand to achieve measurable improvements in customer satisfaction while maintaining a defensible market position. Successful sourcing depends on partners with documented quality management systems, proven testing capabilities for lens and frame durability, and established certification processes that meet global regulatory requirements.
Why Rigorous QC and Certification Define Eyewear Success
From Technical Specs to Market Dominance: Building a Brand on Verifiable Quality
Excellence in custom prescription eyewear goes far beyond basic lens accuracy; it involves complete quality systems that directly shape your brand’s market position. When you partner with an ISO 9001 certified manufacturer, you get documented proof of consistent production standards that reduce product variations and eliminate costly defects. This methodical approach ensures every pair meets your exact specifications, giving you a competitive advantage built on measurable quality.
Your brand can stand apart through technical achievements that competitors find hard to copy. For instance, manufacturers that use 16 to 21 distinct quality control stations during lens production deliver clear improvements in optical precision and durability. In my two decades crafting handmade eyewear, I’ve consistently observed that this level of rigor translates directly into higher customer satisfaction, lower warranty costs, and the ability to command premium prices. The goal is to set industry benchmarks, not just meet minimums.
The High Cost of Failure: Calculating the ROI of Quality Investment
Critical Warning: Inadequate quality control can lead to warranty costs that consume over 15% of your gross revenue, not to mention the years it can take to recover from the associated brand damage. The financial fallout from poor quality isn’t just about replacement costs; it includes customer acquisition expenses, reputation management, and lost market share. Partners without documented quality systems often have defect rates 3-5 times higher than ISO-certified facilities.
Consider the financial reality. A manufacturer that invests in top-tier testing equipment and certified staff might have an 8-12% premium on their pricing. However, this investment typically slashes warranty claims by 60-80% and removes the risk of catastrophic brand damage from safety failures. The return on investment is clear when you measure customer lifetime value, as happy customers generate 2.5 times more revenue.
Key Metric: Manufacturers holding ISO 13485 certification for medical devices often report defect rates below 0.2%, while the industry average for non-certified facilities can be higher than 2.5%.
Shaping Consumer Perception: Tangible Differences in Premium Eyewear
Customers perceive premium quality through tangible indicators. When you choose advanced lens materials like Trivex, which has an Abbe value of 43-45, over standard polycarbonate with an Abbe value of 29, you deliver superior optical clarity that users notice immediately. This technical advantage becomes a powerful marketing asset when backed by documented test results.
The difference between premium and commodity products is also clear in surface quality, coating durability, and frame engineering. For instance, frames featuring multi-layer anti-reflective coatings with 99.9% UV protection and verified scratch resistance maintain their performance and appearance over time. These measurable improvements justify a higher price point and build customer loyalty.
Best Practice: Premium manufacturers document lens surface quality with white-light interferometric microscopy to verify nanometer-scale accuracy, creating a measurable distinction from mass-market products. Frame quality is confirmed through hinge cycle tests (a minimum of 10,000 cycles), environmental stress tests, and material verification from certified suppliers.
Building a Defensible Brand Narrative Around Verifiable Safety
Brand credibility hinges on documented proof of safety and performance. Manufacturers with ANSI Z87.1+ certification offer verifiable proof of impact resistance from standardized tests, including high-velocity impacts with a 0.25-inch steel ball at 150 feet per second and high-mass impacts with a 17.6-ounce projectile. This certification not only provides legal protection but also establishes your technical superiority.
Your brand story becomes stronger with third-party validation, such as lab reports and compliance records. When your manufacturing partner provides this detailed documentation for lens testing, frame durability, and material compliance, you gain marketing assets that build consumer confidence and set your products apart from competitors who make unsubstantiated claims.
Pro Tips: Use your manufacturer’s certification documents and test reports as marketing collateral to showcase technical superiority and build consumer trust through verifiable quality.
Aligning Production Standards with Your Brand’s Identity
For Luxury & Boutique Brands: Translating Craftsmanship into Exclusivity
Luxury branding requires a manufacturing partner who can document artisanal quality. This includes using premium materials like Mazzucchelli acetate with verified curing times, employing detailed hand-polishing procedures, and conducting individualized quality inspections. These processes, validated by certified technicians, create a measurable difference that justifies a premium price. The ability to provide provenance documentation for materials—acetate sourcing certificates, metal alloy specs, and lens purity verification—is a powerful tool for substantiating claims of exclusivity.
Example: A luxury brand can use manufacturer documentation of a 12-step hand-polishing process and a 48-hour curing time to build a compelling marketing story that highlights its products’ superiority over mass-produced alternatives.
For Sportswear & Performance Companies: Making Verifiable Safety Your Differentiator
Performance eyewear brands need partners who can document superior impact resistance, durability, and optical quality under extreme conditions. Certifications like ANSI Z87.1+ and military ballistic standard MIL-PRF-31013 provide verifiable proof of safety that makes your products stand out in a crowded market.
Critical Warning: For sportswear, you must verify that your manufacturer maintains current certification compliance and provides batch testing documentation to ensure consistent safety performance across all production runs.
Your partner should also conduct environmental stress testing, including temperature cycling, humidity exposure, and UV degradation tests, to simulate real-world use. Providing comprehensive test reports that document performance under these harsh conditions gives you a competitive edge based on proven durability.
For Eco-Conscious Brands: Verifying Sustainability Claims
A sustainable brand position requires partners who can document their environmental commitment with certifications like ISO 14001 (environmental management) and the Global Recycled Standard (GRS). These credentials require third-party verification, lending authenticity to your sustainability claims.
Best Practice: For an eco-conscious brand, you should require manufacturers to provide detailed documentation of recycled content percentages, energy consumption metrics, and waste reduction procedures to fully substantiate your claims.
Transparency is key. Your partner should provide detailed documentation of their materials sourcing, including supplier environmental compliance records and recycled content verification. This allows you to make specific sustainability claims backed by verifiable data, avoiding the pitfalls of vague “greenwashing.”
For E-commerce & Retail Chains: Ensuring Scalable Consistency
E-commerce and retail brands need partners who can maintain consistent quality across high-volume production runs. A manufacturer with an ISO 9001 quality management system and documented process controls can deliver the consistency that reduces customer complaints and warranty claims, which is vital when scaling your operations.
Key Metric: E-commerce brands benefit most from manufacturers who can maintain a documented defect rate below 0.5% and provide comprehensive quality records that support your customer service and warranty management teams.
For retail chains, detailed quality documentation, including batch tracking records and test reports, is essential for efficient inventory management and customer support. This level of documentation turns potential cost centers into a competitive advantage through improved operational efficiency.
Establishing Verifiable Lens Performance Benchmarks
Mastering Core Optical Metrics for Medical Precision
Lens performance verification requires the systematic measurement of key optical parameters. Your manufacturing partner must be able to measure and document dioptric power accuracy, prismatic alignment, and refractive characteristics using calibrated equipment and standardized procedures.
Dioptric Power & Prism: Verifying Prescription Accuracy
Prescription accuracy demands calibrated focimeters capable of measuring sphere power within ±0.06 diopters and cylinder power within ±0.09 diopters, as specified by ISO 8980-1 standards. This level of precision requires documented calibration procedures and trained technicians.
Critical Warning: Prescription errors greater than ±0.12 diopters can lead to eye strain, headaches, and potential liability claims, making precise measurement an essential risk management practice.
Prismatic alignment verification requires specialized equipment to measure displacement within 0.25 prism diopter tolerances, which is vital for comfortable binocular vision. Quality assurance must include statistical sampling to verify accuracy across batches, with documented corrective actions for any deviations.
Best Practice: Require your manufacturer to provide annual calibration certificates for all optical measurement equipment, traceable to national standards.
Refractive Index & Abbe Value: The Trade-off Between Aesthetics and Clarity
Selecting a lens material involves balancing refractive index and Abbe value. High-index materials (1.60-1.74) create thinner lenses for strong prescriptions but often have lower Abbe values (32-42), which can cause chromatic aberration (color fringing) in peripheral vision.
Key Metric: Lens materials with an Abbe value below 35 may produce noticeable chromatic aberration in prescriptions stronger than ±4.00 diopters, especially in the periphery of progressive lenses.
Trivex offers a superior Abbe value (43-45) for better optical clarity but has a lower refractive index (1.53), resulting in a slightly thicker lens. Your partner must provide detailed material specifications and test results to help you make an informed decision based on prescription and lifestyle needs.
Advanced Lens Materials and Performance Coatings
Modern lens technology demands a deep understanding of materials and coatings. Your manufacturing partner must show expertise in multiple technologies and provide documented testing that verifies their performance claims.
Material: A Comparative Analysis
| Material | Key Characteristics | Best For |
| CR-39 | Excellent optical clarity (Abbe value 58), moderate impact resistance. | Low-power prescriptions where optical quality is the top priority. |
| Polycarbonate | Superior impact resistance, lightweight (1.20 g/cm³), lower optical quality (Abbe value 29). | Safety and children’s eyewear where impact resistance is critical. |
| Trivex | Excellent impact resistance and superior optical clarity (Abbe value 43-45), very lightweight (1.11 g/cm³). | Prescription safety eyewear, drill-mount frames, and high-end applications balancing safety and clarity. |
| High-Index | Thinnest and lightest profile for strong prescriptions (refractive index 1.60-1.74), variable Abbe values. | High-power prescriptions where lens thickness and weight are primary concerns. |
Example: For safety eyewear needing ANSI Z87.1+ compliance, your choice is between polycarbonate and Trivex. Polycarbonate offers slightly better impact resistance, but Trivex provides far superior optical clarity, which is better for tasks requiring precision.
Coating Performance: Quantifying the Value of Lens Treatments
Anti-reflective (AR) coatings should measurably improve light transmission from around 92% to 99.5%, reducing surface reflections to less than 0.5%. Your partner must provide spectrophotometric testing data to verify this performance.
Best Practice: Request spectrophotometric curves that document coating performance across the 380-700nm wavelength range, with specific measurements at key points.
Scratch resistance requires standardized testing, like the steel wool abrasion test, to simulate real-world wear. UV protection must be verified with spectrophotometric measurement confirming 100% blockage of UV radiation below 400nm. For blue light filters, you need specific data on light attenuation in the 380-500nm range, ensuring performance without distorting color perception.
The Critical Difference: Custom-Surfaced vs. Stock Lenses
Custom lens surfacing (free-form) provides superior optical performance by calculating the lens geometry based on the individual’s prescription, frame choice, and wearing position. This technology minimizes distortion and widens the field of clear vision.
Critical Warning: Pre-made stock lenses can introduce optical compromises, especially in prescriptions stronger than ±3.00 diopters or with non-standard frame parameters, potentially causing discomfort and adaptation issues for the wearer.
Key Metric: Custom-surfaced progressive lenses typically offer 20-30% larger intermediate and near vision zones compared to conventional molded progressives, leading to a much better user experience. Your partner should be able to document these improvements through optical power mapping.
Essential In-House & Third-Party Lab Tests for Vetting Lens Quality
Comprehensive lens quality verification relies on a system of tests evaluating optical performance, mechanical durability, and coating longevity. Your partner should have both in-house testing capabilities and relationships with accredited third-party labs.
Verifying Optical Parameters: Using a Focimeter (Lensmeter)
A focimeter (or lensmeter) is used to verify that the finished lens matches the prescription. Your partner must use calibrated equipment, maintain annual calibration records, and have trained technicians to ensure accuracy.
Best Practice: Implement a statistical sampling plan that requires focimeter verification of at least 5% of your production volume, with 100% inspection for complex prescriptions (e.g., sphere power over ±6.00D).
Testing Durability: Steel Wool Abrasion and Cross-Hatch Adhesion Tests
Coating durability is tested using standardized abrasion procedures, such as with grade 0000 steel wool, to simulate wear and tear. Adhesion is checked with a cross-hatch test, which assesses how well the coating bonds to the lens substrate.
Key Metric: A quality anti-reflective coating should show no visible degradation after 500 cycles of a steel wool abrasion test and maintain an adhesion rating of 4B or higher in cross-hatch testing.
Assessing Material Purity: Haze Meter Testing for Clarity
A haze meter measures light scattering characteristics that can impact visual clarity. Your partner must use a calibrated haze meter and have documented procedures to ensure lens clarity is consistent across all batches.
Critical Warning: Lens haze above 1.5% can noticeably degrade visual clarity and impact user satisfaction, making precise control of this metric essential.
Defining Frame Craftsmanship
Deconstructing Craftsmanship: From Handmade Artistry to Scalable Production
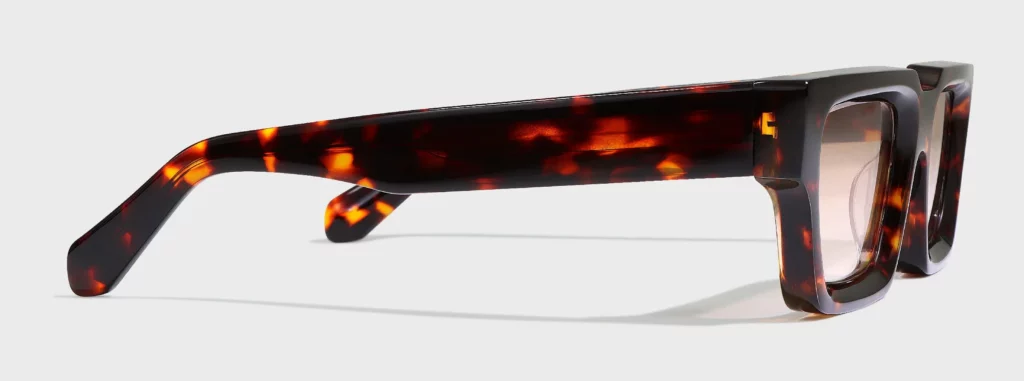
Frame quality spans a range from fully handmade to precision-engineered mass production. Your manufacturing partner must clearly define their production methods and provide verifiable evidence of their craftsmanship standards.
Tiers of Production: Defining Frame Manufacturing Processes
| Production Tier | Description | Key Verification Point |
| Fully-Handmade | Involves individual craftsman at every stage (hand-cutting, shaping, finishing). Requires 15-25 distinct steps. | Detailed process documentation, craftsman certifications, and individual frame inspection reports. |
| Hand-Finished | Combines precision machining for initial shaping with manual operations for final finishing. | Clear documentation defining which steps are automated versus manual, with quality standards for each. |
| Artisan-Assisted | Uses skilled craftsmen for critical finishing or assembly stages, with automation for preliminary work. | Process documentation, skill certification for artisans, and quality checks on specialized tasks. |
Example: An authentic handmade acetate frame requires a documented 48-72 hour curing period between cutting and finishing, often verified by an individual craftsman’s signature on the quality report for that specific frame.
The Impact of Finishing: Hand-Polishing vs. Barrel Tumbling
| Finishing Method | Outcome | Perceived Value |
| Hand-Polishing | Creates superior luster and a smooth, seamless feel. Achieves gloss readings over 95% with uniform texture. | High. The distinct surface quality differentiates premium products and justifies a higher price. |
| Barrel Tumbling | Produces a consistent, acceptable surface finish suitable for high-volume production. | Standard. Lacks the unique character and superior feel of hand-polishing. |
Key Metric: In my experience, hand-polished acetate surfaces show 15-20% greater gloss uniformity and rate 25-30% higher in tactile quality assessments compared to barrel-tumbled frames. This creates a measurable difference that discerning customers can feel.
Material Integrity as a Foundation
Premium acetate materials, like those from Mazzucchelli, require documented provenance and composition verification. Your partner must provide comprehensive material specifications and supplier qualification records to prove the integrity of their raw materials.
Critical Warning: Insufficient acetate curing time (less than 48 hours) can lead to dimensional instability, stress cracking, and finish deterioration, which will compromise the frame’s long-term durability and appearance.
For metal frames, alloy verification requires chemical composition analysis and mechanical property testing to confirm characteristics like tensile strength and corrosion resistance. This is vital for both durability and skin-contact safety.
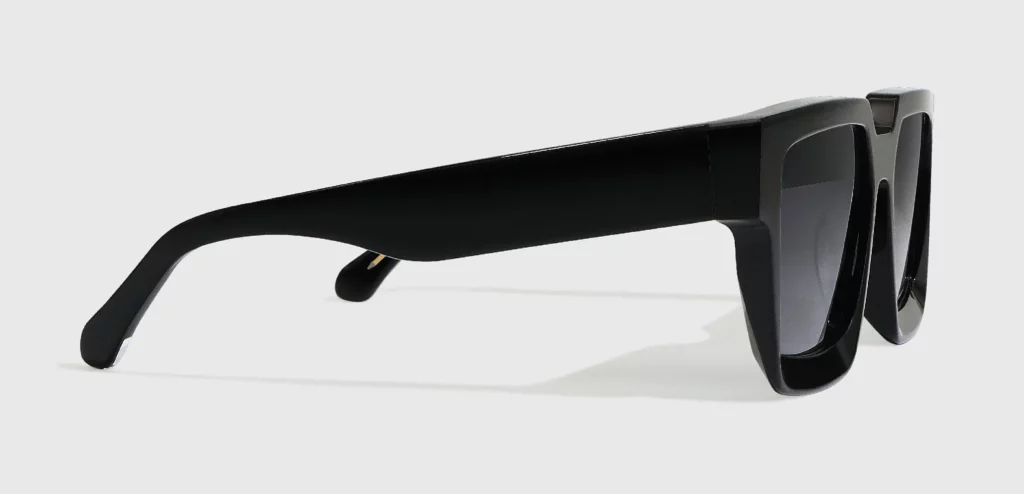
Engineering for Longevity: Key Benchmarks for Structural Integrity
Frame durability verification requires a suite of tests that simulate real-world use and quantify structural performance. Your partner must provide documented evidence of frame performance under these strenuous conditions.
Component Scrutiny: Evaluating Hinge Durability, Core Wire Strength, and Rivet Quality
Hinge durability is tested through cyclical loading that simulates thousands of opening and closing actions, often under varying temperatures. A standard test specifies a minimum of 10,000 cycles.
Best Practice: For premium applications, you should require hinge testing that exceeds 25,000 cycles, with load monitoring at 1,000-cycle intervals to identify any early signs of failure.
Core wire strength is verified through tensile testing to measure its ultimate strength and fatigue resistance. Rivet quality is assessed for tensile strength, shear resistance, and corrosion resistance to ensure joint integrity.
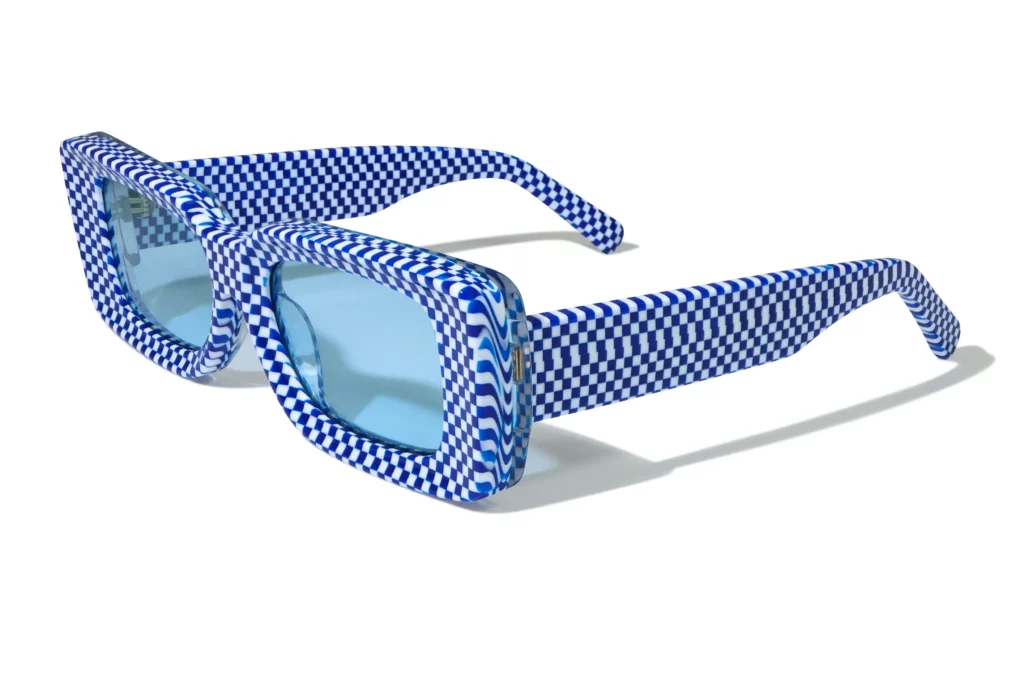
Simulating Real-World Use: Hinge Cycle, Torsion, and Environmental Stress Testing
Beyond simple hinge cycle tests, torsion testing evaluates a frame’s resistance to the twisting forces that occur during normal handling. Environmental stress testing exposes frames to temperature cycles, humidity, and UV radiation to predict long-term durability.
Key Metric: Premium frame hinges should demonstrate full operational integrity beyond 50,000 cycles with no visible wear or functional degradation, and maintain load characteristics within ±10% of their initial values.
Ensuring Chemical and Skin-Contact Safety
Nickel release testing is mandatory for many markets to prevent allergic reactions. It must follow standardized protocols (e.g., EN 16128) that measure nickel migration under simulated skin contact.
Critical Warning: Nickel release exceeding 0.5 μg/cm²/week can cause allergic contact dermatitis in sensitive individuals. Comprehensive testing is essential for regulatory compliance and user safety.
Your partner must also provide documentation for lead and phthalates analysis, typically using methods like atomic absorption spectroscopy or mass spectrometry, to comply with global chemical safety regulations like CPSIA in the United States.
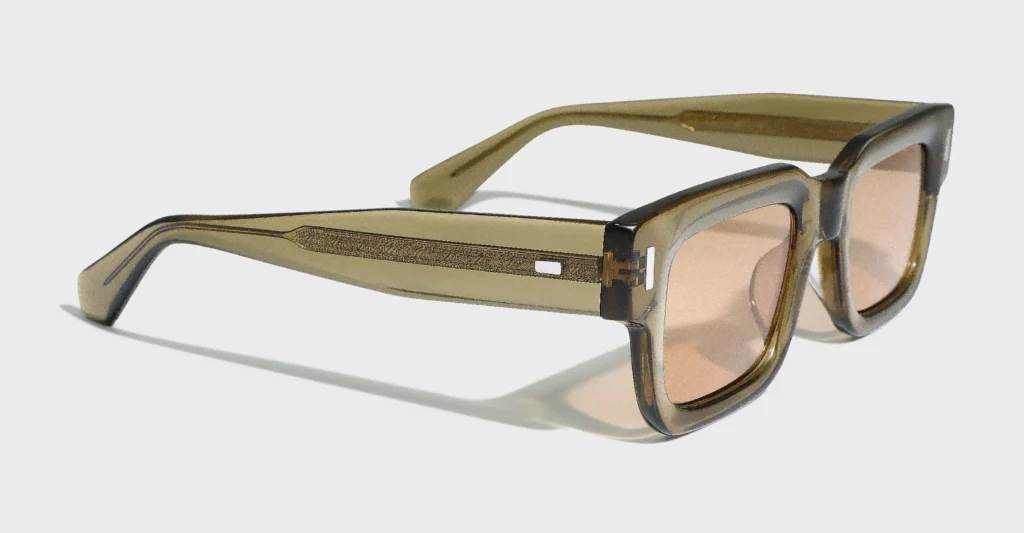
The Vetting Framework: Guide to Audits and Compliance
Auditing Supplier Capabilities and Process Transparency
A thorough supplier evaluation requires more than a brochure; it demands a systematic assessment of manufacturing capabilities, quality systems, and process documentation to ensure they align with your brand’s standards.
Beyond the Brochure: An On-Site Audit Checklist
An on-site audit should use a detailed checklist to evaluate production equipment, process controls, and quality systems. This includes verifying equipment calibration records, reviewing work instructions, and assessing the competency of key personnel.
Critical Warning: Marketing materials and guided facility tours may not reflect day-to-day reality. Independent verification through a detailed audit is essential before you commit to a partnership.
Best Practice: During a facility visit, you should request to see a real production run in process. This allows you to witness their quality checks and process monitoring firsthand, confirming that their documented procedures are actually being followed.
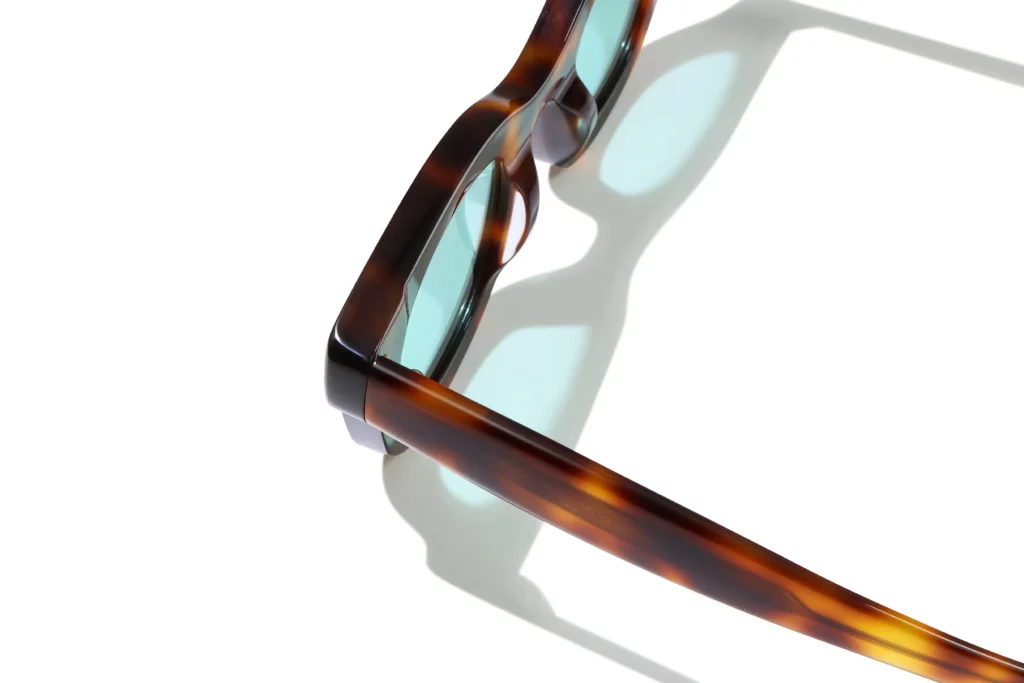
From Concept to Reality: Assessing Prototyping Capabilities
Your partner’s prototyping process should produce physical samples that accurately represent the quality, materials, and dimensions of the final product. These samples must be created using the same materials and equipment planned for the full production run.
Key Metric: A good prototype should demonstrate dimensional accuracy within ±0.1mm of your specified tolerances and have material characteristics that match production specifications within a ±5% variation.
Scrutinizing Internal QC Systems: Documentation vs. Reality
You need to compare a potential partner’s documented QC procedures with what actually happens on the production floor. This review should include their statistical process control (SPC) records, inspection reports, and documentation of how they handle corrective actions when something goes wrong.
Best Practice: Ask for the quality control records from several recent production runs. Then, during your audit, verify that the procedures in the documents are being consistently followed by observing operations and interviewing staff.

Navigating the Global Landscape of Mandatory and Strategic Certifications
International markets have different certification requirements. Your manufacturing partner must demonstrate current compliance and have systems in place to adapt to ongoing regulatory changes.
Foundational Market Access: ISO 9001, FDA Registration, and CE Marking
- ISO 9001: This is the international standard for a quality management system. It demonstrates a systematic approach to quality control and continuous improvement.
- FDA Registration: Required for manufacturers supplying medical devices, including most prescription eyewear, to the United States market.
- CE Marking: This mark signifies conformity with health, safety, and environmental protection standards for products sold within the European Economic Area.
Critical Warning: ISO 9001 certification isn’t a one-time event. It requires annual surveillance audits and a full recertification every three years. You must verify your partner’s ongoing compliance.
Safety Standards: The Importance of ANSI Z87.1
ANSI Z87.1 is the American national standard for occupational and educational eye and face protection devices. This certification requires comprehensive testing for impact resistance, optical quality, and coverage.
Key Metric: To earn the ANSI Z87.1+ high-impact rating, eyewear must withstand an impact from a 0.25-inch steel ball traveling at 150 feet per second with zero penetration or frame failure.
Specialized Application Certifications
For more niche markets, you may need additional certifications:
- Ballistic (MIL-PRF-31013): This U.S. military standard specifies a much higher level of ballistic protection than ANSI Z87.1, requiring testing with fragments at velocities over 640 feet per second.
- Radiation Protection (Lead Equivalency): For eyewear used in medical or industrial radiation environments.
- Therapeutic Tints (e.g., FL-41): Requires spectrophotometric verification of specific light-filtering characteristics for applications like migraine relief.
- Laser Safety (EN 207/208): Specifies optical density and protection requirements for eyewear used around lasers.
Building a Resilient and Compliant Supply Chain Partnership
Long-term success depends on clear agreements, robust risk management, and systems for verifying ongoing compliance.
The Partnership Agreement: Defining Objective Quality Benchmarks
Your partnership agreement must define quality with objective, measurable criteria. It should include specific dimensional tolerances, optical performance standards, and durability requirements, along with the testing procedures used to verify them.
Critical Warning: Vague quality specifications like “high quality” or “good finish” are an invitation for disputes and quality degradation. You must use precise measurement criteria and statistical acceptance limits.
The agreement must also include comprehensive confidentiality and intellectual property clauses to protect your designs.
Mitigating Risk: MOQs, Lead Times, and Batch Consistency
You need to understand your partner’s minimum order quantities (MOQs), production lead times, and capacity to plan effectively. For long-term consistency, your partner must use statistical process controls and raw material qualification to ensure that batch #100 has the exact same quality as batch #1.
Key Metric: Batch consistency is often verified by ensuring that critical quality characteristics remain within ±3 standard deviations of the mean across multiple production runs, which corresponds to 99.7% compliance.
The Role of Independent Verification: Using Third-Party QA Services
Using a third-party quality assurance service provides an unbiased, independent verification of your manufacturer’s compliance and quality. This is particularly important for critical-to-quality features, verifying certifications, or investigating any quality issues that arise.
Best Practice: I always recommend implementing third-party quality verification for new product qualifications and randomly for ongoing production to ensure an objective assessment of your partner’s performance.
Conclusion
Success in the custom prescription eyewear market hinges on verifiable quality and internationally recognized certifications. This means partnering with manufacturers who have implemented ISO quality management systems, use comprehensive testing for lenses and frames, and maintain documented compliance with ANSI, FDA, and CE standards. Investing in this level of quality verification reduces warranty costs, boosts customer satisfaction, and builds a defensible, reputable brand that competitors simply cannot replicate.
Frequently Asked Questions
1. What is the real difference between a manufacturer being ANSI Z87.1-certified versus just claiming “impact resistance”?
ANSI Z87.1 certification provides documented, legal proof of compliance with standardized impact testing. A simple “impact-resistant” claim without certification is a marketing term that offers no legal protection and exposes your brand to significant liability if the product fails.
2. How can a luxury brand market technical specs like Abbe value to justify a premium price?
You can translate technical specs into tangible customer benefits. For instance, a high Abbe value means “measurably superior optical clarity with less distracting color-fringing,” while a multi-layer AR coating provides “crystal-clear vision with virtually invisible lenses.” This educates customers on what makes your product superior.
3. What emerging certifications should an eco-conscious brand prioritize?
Beyond base standards, look for the Global Recycled Standard (GRS) to verify recycled content and ISO 14001 for environmental management. For materials, certifications for bio-acetates, ocean-recovered plastics, and carbon-neutral production provide powerful, verifiable claims that resonate with eco-conscious consumers.
4. How can a global e-commerce brand meet both North American (FDA/ANSI) and European (CE) rules with one SKU?
Partner with a manufacturer who already maintains compliance for all standards, including FDA registration, CE marking, and testing to ANSI Z87.1 protocols. Designing to the strictest elements of each standard and maintaining a comprehensive technical file allows a single product to be legally sold in both markets.
5. What red flags in a QC report signal the need for a third-party audit?
Red flags include a lack of calibration certificates for testing equipment, no statistical process control data, and missing documentation for corrective actions. A report that shows perfect results with no issues is also suspicious, as it suggests the document may not reflect reality.
