How to Build a Production-Ready Tech Pack for Your Acetate Frames
To build a production-ready tech pack for acetate frames, you must create a comprehensive blueprint that defines all technical specifications, from material codes to assembly methods. This includes scaled orthographic drawings with tolerance callouts, a detailed Bill of Materials specifying acetate and hardware suppliers, and quality assurance protocols referencing international standards like ISO 12312-1. This document functions as a contractual agreement with your manufacturer, minimizing sampling errors and de-risking your investment.
Why Your Tech Pack is a Critical Financial Asset
A tech pack is not a design document; it is a manufacturing contract and a quality control framework. An incomplete or ambiguous tech pack is the primary source of sampling delays and production errors, which directly erodes your profit margin. You must view the investment in detailed documentation as a direct input to your ROI, not an administrative cost.
A manufacturer requires a detailed tech pack to provide accurate cost estimates and production timelines. Without it, any quote you receive is a guess, because the supplier cannot properly assess material costs or labor complexity. This means you are negotiating from a position of weakness and exposing your brand to unforeseen price hikes and delivery delays.
The tech pack serves as the single source of truth for your design team, engineers, and manufacturing partner. This unified system is critical for acetate frames, where the molecular properties of the material and the precision of assembly are non-negotiable. It eliminates ambiguity, which directly translates to fewer sampling rounds and a faster path to market.

Using the Tech Pack to Vet Manufacturing Partners
Your tech pack is your most effective tool for evaluating a potential manufacturer’s competence. A factory’s response to your detailed specifications reveals its technical capability and attention to detail. An expert partner will provide feedback, question your tolerances, and suggest improvements. A low-capability factory will accept a vague document, which is a red flag for future problems.
Critical Warning: Inadequate tech pack documentation can trigger production delays of 4-8 weeks. This is the time lost while a factory creates new samples to correct specification errors that should have been defined from the start. This wasted time represents lost sales and a direct hit to your cash flow.
A detailed tech pack forms the legal and contractual foundation for your supplier agreements. The specifications become measurable criteria for accepting or rejecting production runs. Should a quality dispute arise, the tech pack provides the objective standards for resolution, protecting your investment and holding the supplier accountable.
Deconstructing the Blueprint: The Essential Sections
Part 1: The Project Overview & Cover Sheet
The cover sheet organizes your project and establishes professional control. It must contain clear identifiers to prevent costly administrative errors.
- Essential Identifiers: Use a clear style numbering system, For Example:
ACE-FW25-001for an acetate frame from your Fall/Winter 2025 collection. Include your brand, season, SKU, and the project manager’s contact information. - “Hero” Shot: Include a high-resolution color rendering of the final design. For acetate, this visual reference is critical because it sets the standard for color depth, pattern continuity, and finish quality.
- The Change Log: You must implement a version control table to track all revisions. This log shows the version number, date, a description of the change, and who authorized it. Best Practice: Use
V1.0for the initial release,V1.1for minor edits, andV2.0for major revisions after a sample review. This prevents your factory from working with outdated files.
Part 2: The Visual Core & Color Specifications
Technical drawings are the language of manufacturing. They must communicate precise dimensions, proportions, and construction details without ambiguity.
- Required Views: Provide precise, scaled orthographic projections (front, side, top). Your drawings must clearly show the relationship between acetate parts and internal components like metal core wires, because these hidden elements are fundamental to structural integrity.
- Critical Callouts: Annotate your drawings with key angles and curvatures. The pantoscopic tilt (typically 5-15 degrees) must be specified as it impacts optical performance. The base curve of the frame front must be defined to ensure correct lens fit.
- Assembly Diagrams: Use exploded views to illustrate how components integrate. This is mandatory for showing the assembly of hinges, core wires, and lenses. For spring hinges, you must provide detailed diagrams showing the mechanism’s orientation to ensure proper function.
- The Colorway Sheet: Define all color variations with official supplier codes. For acetate, this means referencing Mazzucchelli or Jimei color numbers. For all other components, use Pantone codes. This removes subjectivity from color matching, which is a common source of rejection during QC.
Part 3: The Bill of Materials (BOM)
The BOM is a complete inventory of every component required for one unit. It is the foundation for accurate costing and material procurement.
- Acetate Frame & Temples: Specify the exact material, including supplier and sheet thickness. Key Metric: Frame fronts require 6.0mm thickness for strength, while temples function effectively at 3.5-4.0mm. Detail any pre-processing, like the roasting process, which heats acetate for one week at 60°C to prevent shrinkage and ensure dimensional stability.
- Lenses & Optical Performance: Define the lens material, base curve, and performance standards. You must specify UV400 protection and any coatings, like anti-reflective or blue light filtering. These specifications are direct inputs to the final product cost and performance claims.
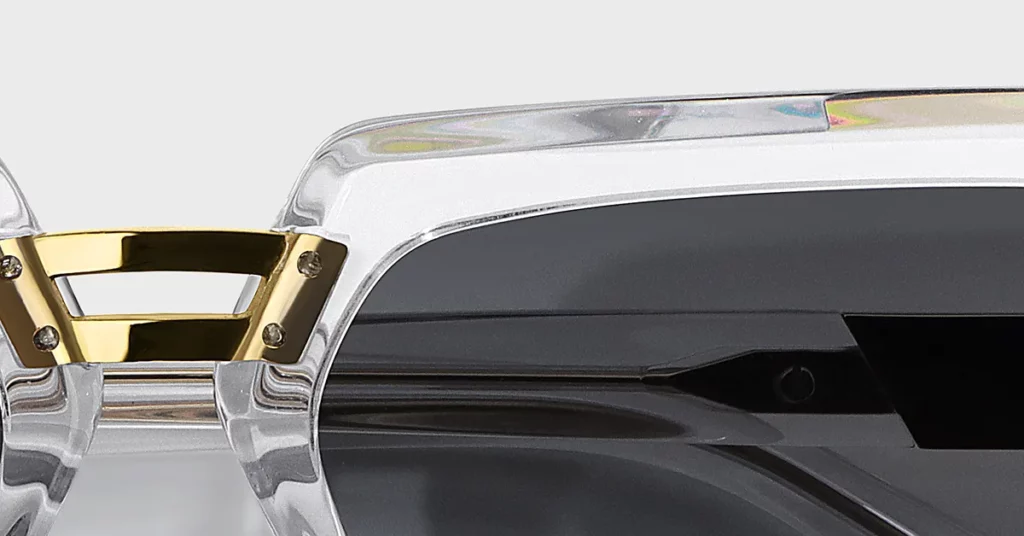
- Hardware: Detail all metal components. Specify hinge types (e.g., 5-barrel hinge), core wire material and diameter, and screw types. Failing to specify screw torque requirements can lead to technicians cracking the acetate during assembly.
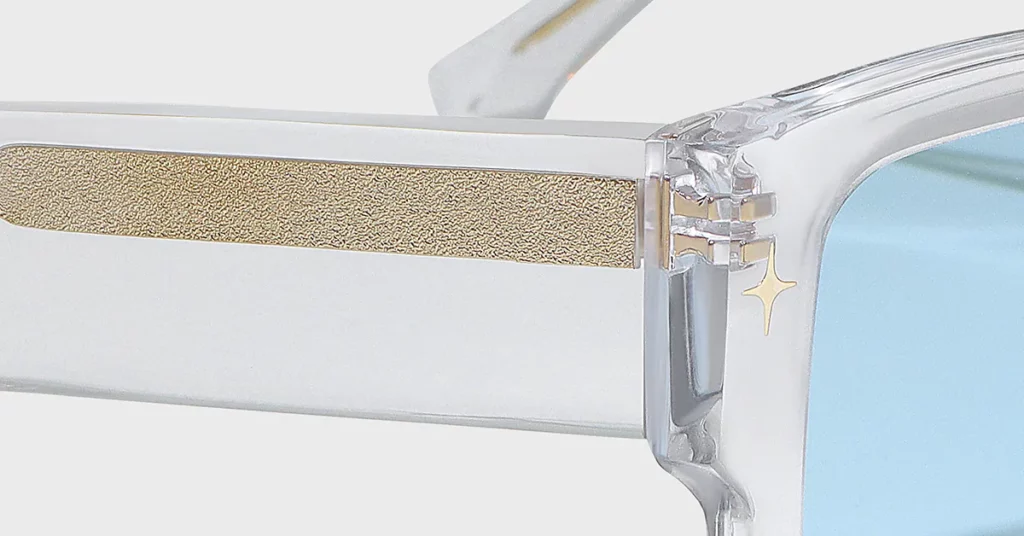
- Branding & Decorative Components: Provide detailed specifications for all branding elements, including placement, size, and application method (e.g., laser engraving, metal plaques). Include vector artwork files and placement guides to ensure consistency.
Part 4: The Measurement & Tolerance Spec Sheet
This section defines your quality boundaries. It dictates what is an acceptable unit versus a reject.
- Defining Points of Measure (POMs): Establish a full list of critical measurements in millimeters, including lens width, bridge width, and temple length. Use a measurement diagram that shows exactly where each POM is located to ensure consistent QC checks.
- Establishing Acceptable Tolerances: Define the acceptable variation for each measurement. Key Metric: Standard manufacturing tolerances range from +/- 0.5mm for critical fit dimensions (like bridge width) to +/- 1.0mm for less critical points. Tighter tolerances increase cost but are necessary for premium fits.
- Providing Clear Measurement Instructions: You must provide clear, written instructions on how to perform each measurement. Specify the tools and techniques to be used, as acetate’s flexibility can lead to inconsistent readings if not handled properly.
Part 5: Manufacturing & Quality Assurance Directives
This section gives your manufacturer specific instructions on how your product should be built and inspected.
- Construction & Assembly Techniques: Specify manufacturing processes that impact quality. For Example: Detail the tumbling polish process, which uses progressively finer wood pellets over a 72-hour period to achieve a high-gloss finish. Define the hinge insertion method to ensure a secure bond with the acetate.
- Quality Control Standards: You must establish your quality control framework. Reference AQL (Acceptable Quality Limit) sampling procedures and provide a defect classification guide (critical, major, minor). Include photographic references of acceptable and unacceptable cosmetic defects.
- International Standards Compliance: Reference all applicable international standards, such as ISO 12312-1 for sunglasses and ANSI Z80.3. Demand compliance reports from your supplier to protect your brand from legal liability and ensure market access.
- Packaging & Logistics: Detail all final packaging requirements, from the protective case and cleaning cloth to carton labels and barcodes. This ensures your product arrives at its destination safely and is ready for your inventory system.

Workflow, Tools, and Collaboration
The tools you use to create and manage your tech pack directly impact your efficiency and accuracy.
Choosing Your Creation and Management Toolkit
Professional design software is non-negotiable for creating accurate technical drawings. Management can be handled with simple spreadsheets or more powerful dedicated software.
| Feature | Spreadsheets (Excel/Google Sheets) | Dedicated PLM Software (e.g., Techpacker) |
| Initial Cost | Low | High ($35-$249/month) |
| Collaboration | Limited; prone to version errors | Excellent; real-time updates |
| Version Control | Manual and unreliable | Automated and systematic |
| Scalability | Poor; becomes chaotic with more styles | Excellent; designed for growth |
| Integration | Limited; requires manual data entry | Comprehensive; links to costing/suppliers |
The Bottom Line: Startups can begin with spreadsheet-based tech packs, but you must migrate to a PLM system as your brand grows. The manual effort and risk of error with spreadsheets become unsustainable at scale.
Pro Tips: Use Adobe Illustrator for all technical drawings. Its vector-based tools are the industry standard for precision. Create a master template with your brand’s standard formats and callouts to ensure consistency across all your products.
The Iteration Process: Managing Versions
The tech pack is a living document that evolves with each physical sample. Managing this evolution is critical.
- The Feedback Loop: After receiving each sample, you must methodically update the tech pack. Document all required changes, explaining why each is necessary.
- Highlighting Changes: Use visual cues like color-coding or revision clouds to ensure your manufacturing partner sees every update. Never assume they will read the entire document again and find the changes themselves.
- The “Golden Sample”: Once you approve a final prototype, this becomes the “golden sample.” The tech pack is finalized to reflect this sample’s exact specifications. This sample is now the physical standard against which all mass production units are judged.
Conclusion
A production-ready tech pack is the single most important document you will create to de-risk your investment in new eyewear. It is the instrument that translates your vision into a manufacturable, profitable product. By treating the tech pack as a strategic financial tool, you reduce costly sampling rounds, enforce quality, and build scalable partnerships with suppliers capable of executing your designs with precision.
Frequently Asked Questions
1. What is the functional difference between a spec sheet and a tech pack?
A spec sheet provides only basic measurements and materials. A comprehensive tech pack is a full manufacturing blueprint, including assembly diagrams, tolerance ranges, QC protocols, and packaging details, leaving zero room for interpretation.
2. How do I specify frame curvature and pantoscopic tilt in a 2D drawing?
Specify frame curvature with a base curve measurement (e.g., 6B) on the top-down view. Specify pantoscopic tilt with an angular measurement (e.g., 8°) on the side view, showing the angle of the frame front relative to the temple.
3. For a startup, should I use a freelancer or PLM software to create a tech pack?
Use a freelance designer ($35-$75/hr) to create your initial tech packs. Their expertise is cost-effective for a small number of styles. Transition to a PLM system once you have multiple products and need to manage revisions and collaboration more systematically.
4. What is the most common mistake in tech packs that causes sampling errors?
The most costly mistake is failing to specify tolerances. A factory might meet a measurement of “50mm” but if the fit requires 49.8mm – 50.2mm, the lack of a defined +/- 0.2mm tolerance range will result in rejected samples and delays.
5. How should a tech pack be versioned after receiving the first prototype? Use a clear system like V1.0, V1.1, V2.0. When sending an update, maintain a change log on the cover sheet and use revision clouds on the drawing pages to visually highlight every single modification. This directs the factory’s attention exactly where it’s needed.